Saturday, 29 January 2011
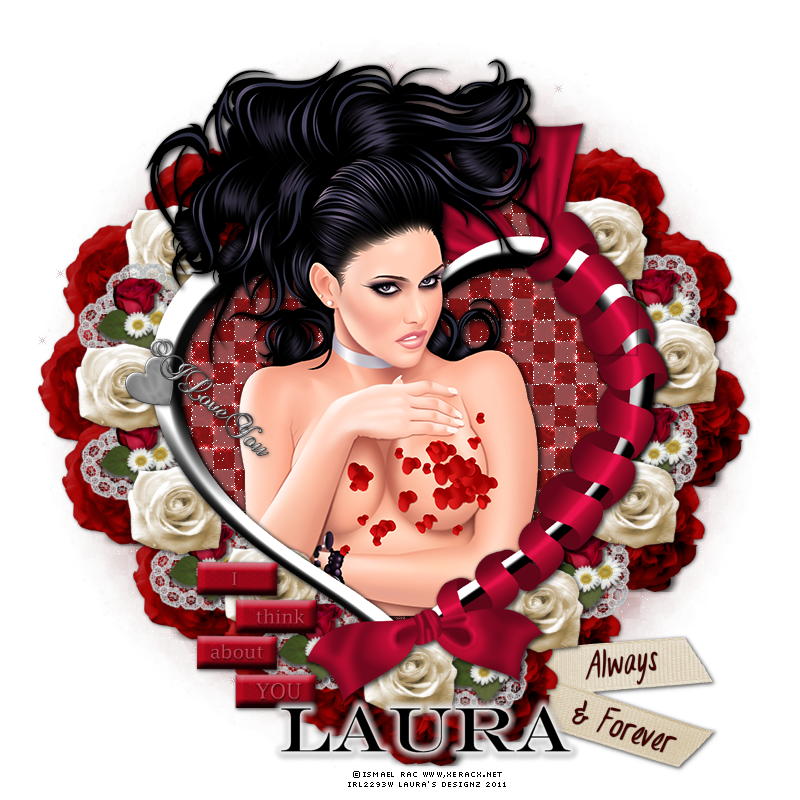
 Always & Forever
This tutorial was written by Laura on the 29th January 2011.
This is my own creation and any resemblance to any other tutorial is purely coincidental.
Under no uncertain terms are you allowed to make money from anything produced from this tutorial, this is against my TOU.
For this tutorial you will need:
Psps, i use psp9
Alien Skin Xenofex 2 Constellation
Tube of your choice, I’m using the wonderful work Ismael Rac
which you must have a license to use you can get one at his tubes HERE
Psps, i use psp9
Alien Skin Xenofex 2 Constellation
Tube of your choice, I’m using the wonderful work Ismael Rac
which you must have a license to use you can get one at his tubes HERE
WSL_Mask208 You Can Get Her Awesome Masks From HERE
Scrapkit "ALWAYS AND FOREVER" by myself available HERE
Ok here we go!
Open a new image 800 x 800
Open one of the papers from the kit
now go to layers and load mask from disc
find WSL_Mask208 and press load.
Right click on the top of your canvas and copy merged
right click on your blank canvas paste as a new layer.
Add a light drop shadow if you wish.
I also changed the colour of mine a bit to match my tube.
Now to give your mask layer a lot of sparkle
go to Alien Skin Xenofex 2 Constellation
and apply these settings
and apply these settings
Star size 2
S.variation 6
edge start den 8
overall star 8
overdrive 100
twinkle amount 55
twinkle rot 45
select keep original image
random seed 1
S.variation 6
edge start den 8
overall star 8
overdrive 100
twinkle amount 55
twinkle rot 45
select keep original image
random seed 1
Hit ok.
Your mask should now be all twinkly!
select your change to target brush and colour over the stars
now to give the same colour as your mask colour.
now to give the same colour as your mask colour.
Pretty hey!
Add your tube now.
Add a drop shadow to tube.
Now add element 36 which is a stunning frame.
You need to duplicate this frame so one is behind your tube layer and one on top of your tube layer.
Select your selection tool and cu out the top part of the duplicaed frame so that your tube layer shows through,
This will give the impression of your tube coming out of the frame.
Now select a flower element, red one first.
Here's where lots of duplicating comes into play.
Duplicate this flower after resizing so it goes around your frame layer but sits behind it.
Now select a beige flower, resize and again pace this sporadically around the frame.
Now i selected another element and again duplicate away til happy with your tag.
Add a few more elements of your choice,
I added the tag of always and forever and i love you keychain,
You add what you like!
Now you can add your name or name of choice by selecting the layer you wish to add the name to.
Select Text tool and find your font of choice and select sizes, colours etc.
When happy position and apply.
Add drop shadow if wanted or filter.
Add the correct copyrights now to your tag.
And we are finished!
I hope you enjoyed this tutorial.
Hugs Laura
-x-x-
Subscribe to:
Post Comments (Atom)
Ismael Rac Tutorials
Barbara Jenson Tutorials
Keith Garvey Tutorials
Zindy Tutorials
Marco Guaglione
Mixed Up!
Powered by Blogger.


0 comments:
Post a Comment