Monday, 31 January 2011
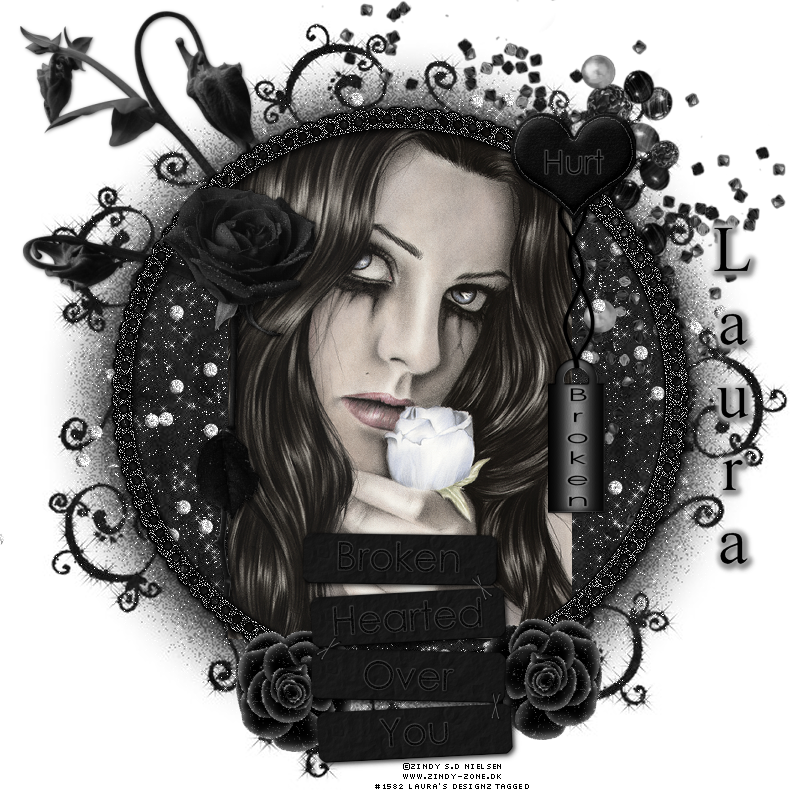
 Broken
This tutorial was written by Laura on the 31st January 2011.
This is my own creation and any resemblance to any other tutorial is purely coincidental.
Under no uncertain terms are you allowed to make money from anything produced from this tutorial, this is against my TOU.
For this tutorial you will need:
Working knowledge of Paint Shop Pro.
Image of your choice, I’m using the wonderful work Zindy S.D Nielsen which you must have a license to use you can get this wonderful artwork HERE
Image of your choice, I’m using the wonderful work Zindy S.D Nielsen which you must have a license to use you can get this wonderful artwork HERE
Font of Your Choice.
BROKEN Scrap Kit made by me which you can buy from HERE
Mask Used is WSL Mask 340 you can grab these awesome masks HERE
OK lets get started
Open a new image 800 x 800 then
Open a new image 800 x 800 then
Open one of my papers from the kit.
Now go to layers, load/save mask, load mask from disc
Now go to layers, load/save mask, load mask from disc
Find your mask and press load.
Right click on the top of your paper and copy merged
Back to your empty canvas right click on the top and paste as a new layer
Right click on the top of your paper and copy merged
Back to your empty canvas right click on the top and paste as a new layer
Add a light drop shadow if you desire.
Now copy element 15 my circle frame and paste centrally on top of the mask layer.
Add drop shadow of your choice,
Now i add my tube of choice behind the frame layer.
Drop shadow if desired.
Now copy element 16 from my kit
Place behind tube layer-duplicate this layer then when happy with placement delete any sparkles with your selections tool that are floating around the edge of the mask layer.
Copy and place element 41 at the bottom of tube layer, resize to 40% and add drop shadow.
Next copy and paste element 35 behind the mask layer resizing to how much of the branch you want to see.
Next copy and paste element 40 the broken sign top right of the tube. Resize as you please.
Now copy/paste element 65 to the left side of the tube, the flower stem should run the length of the tube.
Now add element 58 to the top of the broken sign, resize and add drop shadow.
Now copy/paste element 57 the flower to one side of the broken hearted sign, resize and drop shadow and now duplicate layer and mirror.
Add any extra dop shadows as you wish to any layers you feel need that extra something!
Now you can add your name or name of choice by selecting the layer you wish to add the name to.
Select Text tool and find your font of choice and select sizes, colours etc.
When happy position and apply.
Add drop shadow if wanted or filter.
Add the correct copyrights now to your tag.
And we are finished!
I hope you enjoyed this tutorial.
Hugs Laura
-x-x-
Subscribe to:
Post Comments (Atom)
Ismael Rac Tutorials
Barbara Jenson Tutorials
Keith Garvey Tutorials
Zindy Tutorials
Marco Guaglione
Mixed Up!
Powered by Blogger.


0 comments:
Post a Comment