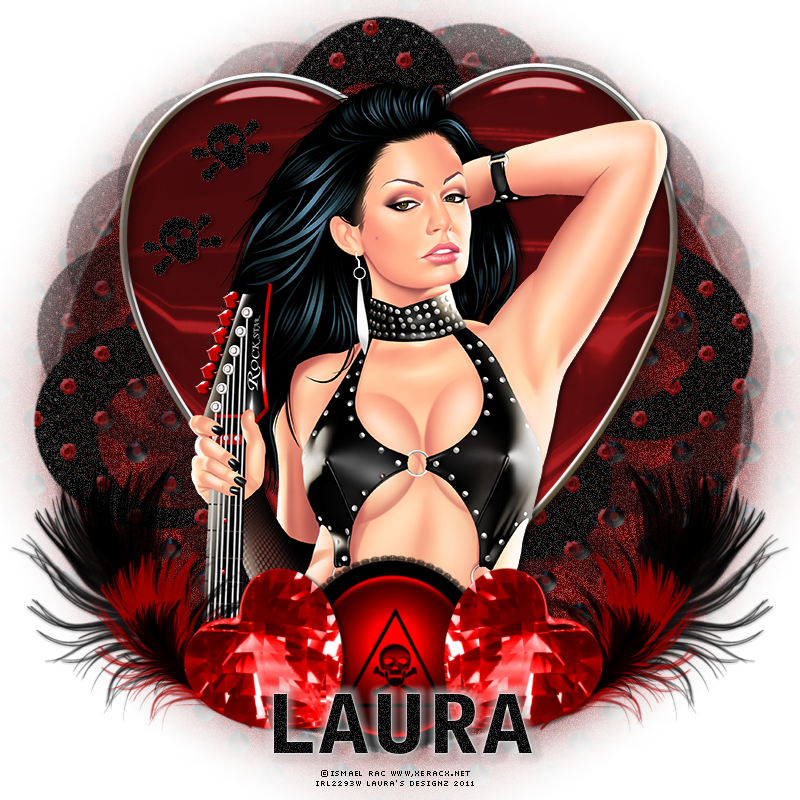
Sunday, 23 January 2011
 Rock On.
This tutorial was written by Laura on the 20th January 2011.
This is my own creation and any resemblance to any other tutorial is purely coincidental.
Under no uncertain terms are you allowed to make money from anything produced from this tutorial, this is against my TOU.
For this tutorial you will need:
Working knowledge of Paint Shop Pro.
Image of your choice, I’m using the wonderful work Ismael Rac which you must have a license to use you can get this wonderful artwork HERE
Image of your choice, I’m using the wonderful work Ismael Rac which you must have a license to use you can get this wonderful artwork HERE
Font of Your Choice.
Girlz Rock Scrap Kit made by me which you can buy from HERE
Mask of your choice....
OK lets get started
Open a new image 800 x 800 then
Open a new image 800 x 800 then
Open one of my papers from the kit.
Now go to layers, load/save mask, load mask from disc
Now go to layers, load/save mask, load mask from disc
Find your mask and press load.
Right click on the top of your paper and copy merged
Back to your empty canvas right click on the top and paste as a new layer
Right click on the top of your paper and copy merged
Back to your empty canvas right click on the top and paste as a new layer
Add a light drop shadow if you desire.
Now in my elementsselect the heart and add as new layer over the mask, position and add drop shadow if desired.
Now i add my tube of choice.
Position where you want and add a drop shadow if wanted.
Then add a few elements from my kit.
Position and add drop shadows as you please.
I added mine mostly around the bottomof the tube.
I used duplicate and miror to give the tag a symetrical look.
Now you can add your name or name of choice by selecting the layer you wish to add the name to.
Select Text tool and find your font of choice and select sizes, colours etc.
When happy position and apply.
Add drop shadow if wanted or filter.
Add the correct copyrights now to your tag.
And we are finished!
I hope you enjoyed this tutorial.
Hugs Laura
-x-x-
Subscribe to:
Post Comments (Atom)
Ismael Rac Tutorials
Barbara Jenson Tutorials
Keith Garvey Tutorials
Zindy Tutorials
Marco Guaglione
Mixed Up!
Powered by Blogger.


0 comments:
Post a Comment