Thursday, 17 February 2011
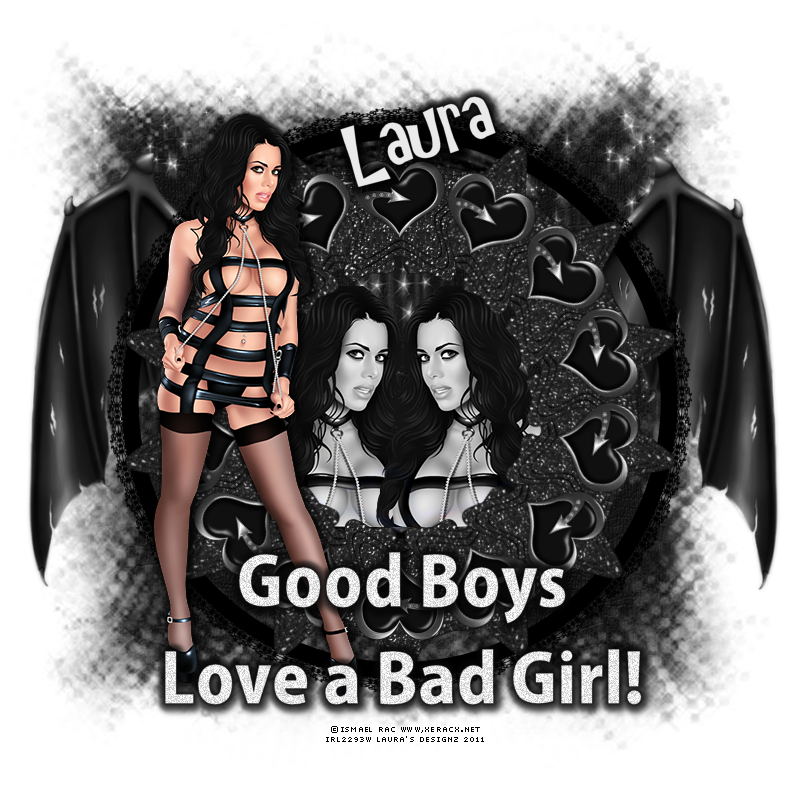
 Good Boys Love A Bad Girl.
This tutorial was written by Laura on the 17th February 2011.
This is my own creation and any resemblance to any other tutorial is purely coincidental.
Under no uncertain terms are you allowed to make money from anything produced from this tutorial, this is against my TOU.
For this tutorial you will need:
Working knowledge of Paint Shop Pro.
Image of your choice, I’m using the wonderful work Ismael Rac which you must have a license to use you can get this wonderful artwork HERE
Image of your choice, I’m using the wonderful work Ismael Rac which you must have a license to use you can get this wonderful artwork HERE
Font of Your Choice.
Demonic Pleasures Scrap Kit made by me which you can buy from HERE
Mask of your choice....
I used the wonderful work of Vix..you can grab it HERE ,Mask 250
Plugins...MuRa's Meister..Copies.
Ok Let's Get Started!
Open yourself a blank canvas 800 x 800 72dpi.
Now select a paper of choice from my kit and go to layers, load/save mask, load mask from disc.
Find your mask and press load.
Right click on the top of your paper and copy merged
Back to your empty canvas right click on the top and paste as a new layer
Back to your empty canvas right click on the top and paste as a new layer
Add a light drop shadow if you desire.
Now from my elements select element 12.
Copy/paste onto mask layer resize by 90%.
Move it central and add drop shadow if desired.
Now witht he next two elements we are going to be using the plugin MuRa's Meister.
Select element 28 which is a star and copy/paste onto canvas, resize by 30%, do not move it!
Now go to your plugins, select MuRa's Meister-Copies and add these settings.

Now exactly the same settings are used for the next element 26 the heart.
Again copy/paste onto the star layer, resize to 30%, do not touch and add your plugin again.
You now have a beautiful looking home made frame on your canvas!
Now select frame 32.
Copy/paste and then drag this layer right to the bottom of your layer pallet.
So it sits behind your mask layer.
Add drop shadow and resize by 80%.
So looking at it now you should just see the wings.
Place element 35 the bright stars on top of the wingd frame layer.
Gives a lovely sparkly effect on the wings, you may want to resize these to your liking.
Now for the placement of the tubes.
The main full body tube needs to be copied and pasted onto the canvas.
Make this your top layer.
Add drop shadow.
Place it to the left.
The close up...is a little harder.
Select star layer and with magic wand tool click inside it.
Then SELECTIONS-MODIFY - EXPAND BY 8.
You can now use this as another frame layer.
Select your tube and copy/paste as new layer, resize if needed, place to one side of the frame.
Hit SELECTIONS-INVERT-HIT DELETE ON YOUR KEYBOARD.
Drag this tube layer ander the star layer.
On the layer pallet find your blend modes and select Luminance.
Duplicate this tube layer and select Mirror.
You will now have your double tube effect!.
Next i add the phrase GOOD BOYS LOVE A BAD GIRL.
Using whatever font you have that pops!!
I added a gradient glow and dsb flux filter to this phrase!
Drop shadow as usual!
Now you can add your name or name of choice by selecting the layer you wish to add the name to.
Select Text tool and find your font of choice and select sizes, colours etc.
When happy position and apply.
Add drop shadow if wanted or filter.
Add the correct copyrights now to your tag.
And we are finished!
I hope you enjoyed this tutorial.
Hugs Laura
-x-x-
Subscribe to:
Post Comments (Atom)


0 comments:
Post a Comment